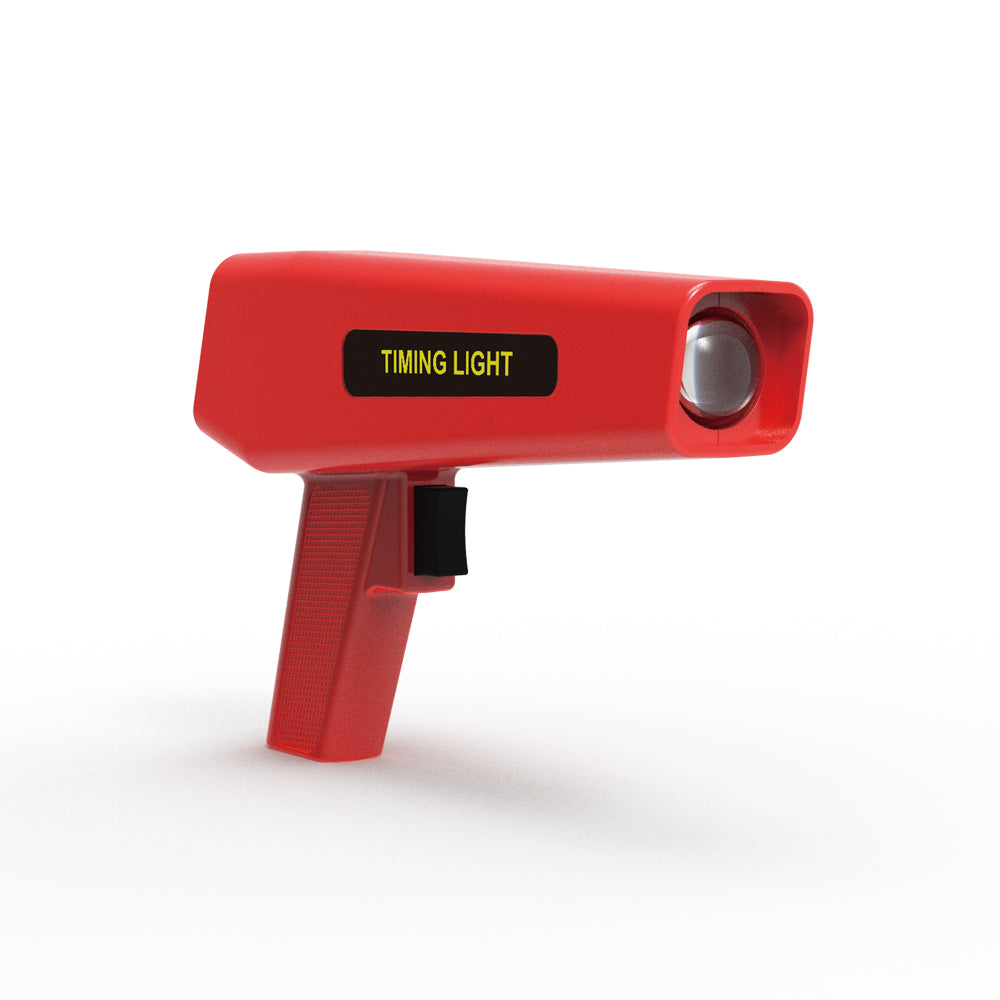
If you're a car enthusiast, you've probably heard of a timing light. This handheld tool is used to set the ignition timing on an internal combustion engine, allowing you to optimize your engine's performance, reduce emissions, and increase fuel efficiency. In this article, we will provide a step-by-step guide on how to use a timing light to get the most out of your engine.
Step 1: Prepare Your Vehicle
Before using a timing light, it is important to ensure that your vehicle is in good working order. This includes checking the spark plugs, distributor cap, and rotor for wear or damage. If any of these components are faulty, it may affect the timing of your engine and make it difficult to adjust accurately.
Step 2: Connect the Timing Light
Next, connect the timing light to the battery and the spark plug wire of the engine. The positive lead of the timing light should be connected to the positive terminal of the battery, while the negative lead should be connected to the negative terminal. The inductive pickup lead of the timing light should be connected to the spark plug wire of the engine.
Step 3: Start the Engine
With the timing light connected, start the engine and let it warm up to operating temperature. Once the engine is running smoothly, you can proceed to the next step.
Step 4: Illuminate the Timing Marks
Now, point the timing light at the timing marks on the engine's crankshaft. The timing marks are usually located on the harmonic balancer or the timing chain cover. As the engine runs, the timing light will strobe, illuminating the timing marks and making them easier to see.
Step 5: Adjust the Timing
To adjust the timing, loosen the distributor clamp bolt and rotate the distributor until the timing marks on the engine are aligned with the appropriate timing setting. This setting can be found in the vehicle's owner's manual or by consulting a repair manual.
Step 6: Tighten the Clamp Bolt
Once the timing is set, tighten the distributor clamp bolt to secure the distributor in place. Then, recheck the timing to ensure that it is still accurate.
Step 7: Disconnect the Timing Light
Finally, disconnect the timing light and test drive your vehicle. You should notice improved engine performance, better fuel efficiency, and reduced emissions.
Conclusion
Using a timing light is a simple and effective way to optimize your engine's performance. By following the steps outlined in this article, you can use a timing light to adjust the timing of your engine with confidence and get the most out of your vehicle. So why not give it a try and see how it can improve your driving experience?
Click here to see what timing lights we have available.


Leave a comment
This site is protected by hCaptcha and the hCaptcha Privacy Policy and Terms of Service apply.